How To Make A Diaper Cake: Step By Step
If one of your friends has become pregnant and you want to give her a special gift, a diaper cake is a great idea. On the one hand, it is full of a lot of things that the future mother will need and, on the other, it is a very original memory that will remain etched in her memory forever.
If you think that you will not be able to do it, calm down, because we are going to show you that they are very easy and that, with a little patience and creativity, you will be able to give shape to a totally personalized gift for that special person. We tried?
Instructions for making a diaper cake
To make a multi-tiered diaper cake you will need to set aside some time to be able to shape this special gift. Think well what colors you want to use and have the materials ready to surprise that pregnant woman.
With an extra dose of love and patience, get ready to create a diaper cake for baby.
Materials to make a diaper cake
- 70 size 3 diapers.
- A large piece of cardboard or a cake plate to use as a base.
- A nice bottle. It can be juice or a jar of cream that you can use later.
- Scissors and pins.
- 70 small rubber bands, about 3 centimeters in diameter.
- 8 large rubber bands, about 8 centimeters in diameter.
- Ribbons and bows of colored fabric.
- Gift paper that is in the same tones as the bows.
- Small gifts and accessories for babies: pacifiers, teethers, a toy …
The step by step of your work of art
Step 1: make the cake base
To give it stability and that you can transport it without collapsing, you have to prepare a base. To do this, take the large piece of cardboard and cut it out making a circle of about 35 centimeters in diameter. Then wrap the cardboard with wrapping paper to make it look prettier.
As an alternative to the base, you can also use a nice plate or tray that the future mother can use later. You can also use fabrics instead of wrapping paper.
Step 2: roll up the diapers
Once you have the base for the cake, it is time to start rolling the diapers. To do this, you must open them and turn each one over to roll them so that the part where the printed drawings appear is on the inside. This will make everything look solid white. Use the small rubber bands to secure each diaper and prevent it from opening.
Step 3: stack the diapers to shape the cake
Now comes the funniest part, in which you will have to shape the cake by stacking the rolled diapers. Place the bottle you have chosen in the center of the base, this will give stability to the diaper cake.
Use a large rubber band around the bottle and tuck the diapers in between so that they are securely attached. Once you have circled the bottle, you will have finished the first row of diapers.
Continue to the next level of your cake. The procedure is similar, only this time the rubber band will go around the first row of diapers. Follow the same system to make the number of rows you want.
If you want to add some surprise for the parents as they open the diapers, you can hide cream to take care of their skin, wet wipes, or any other useful accessory.
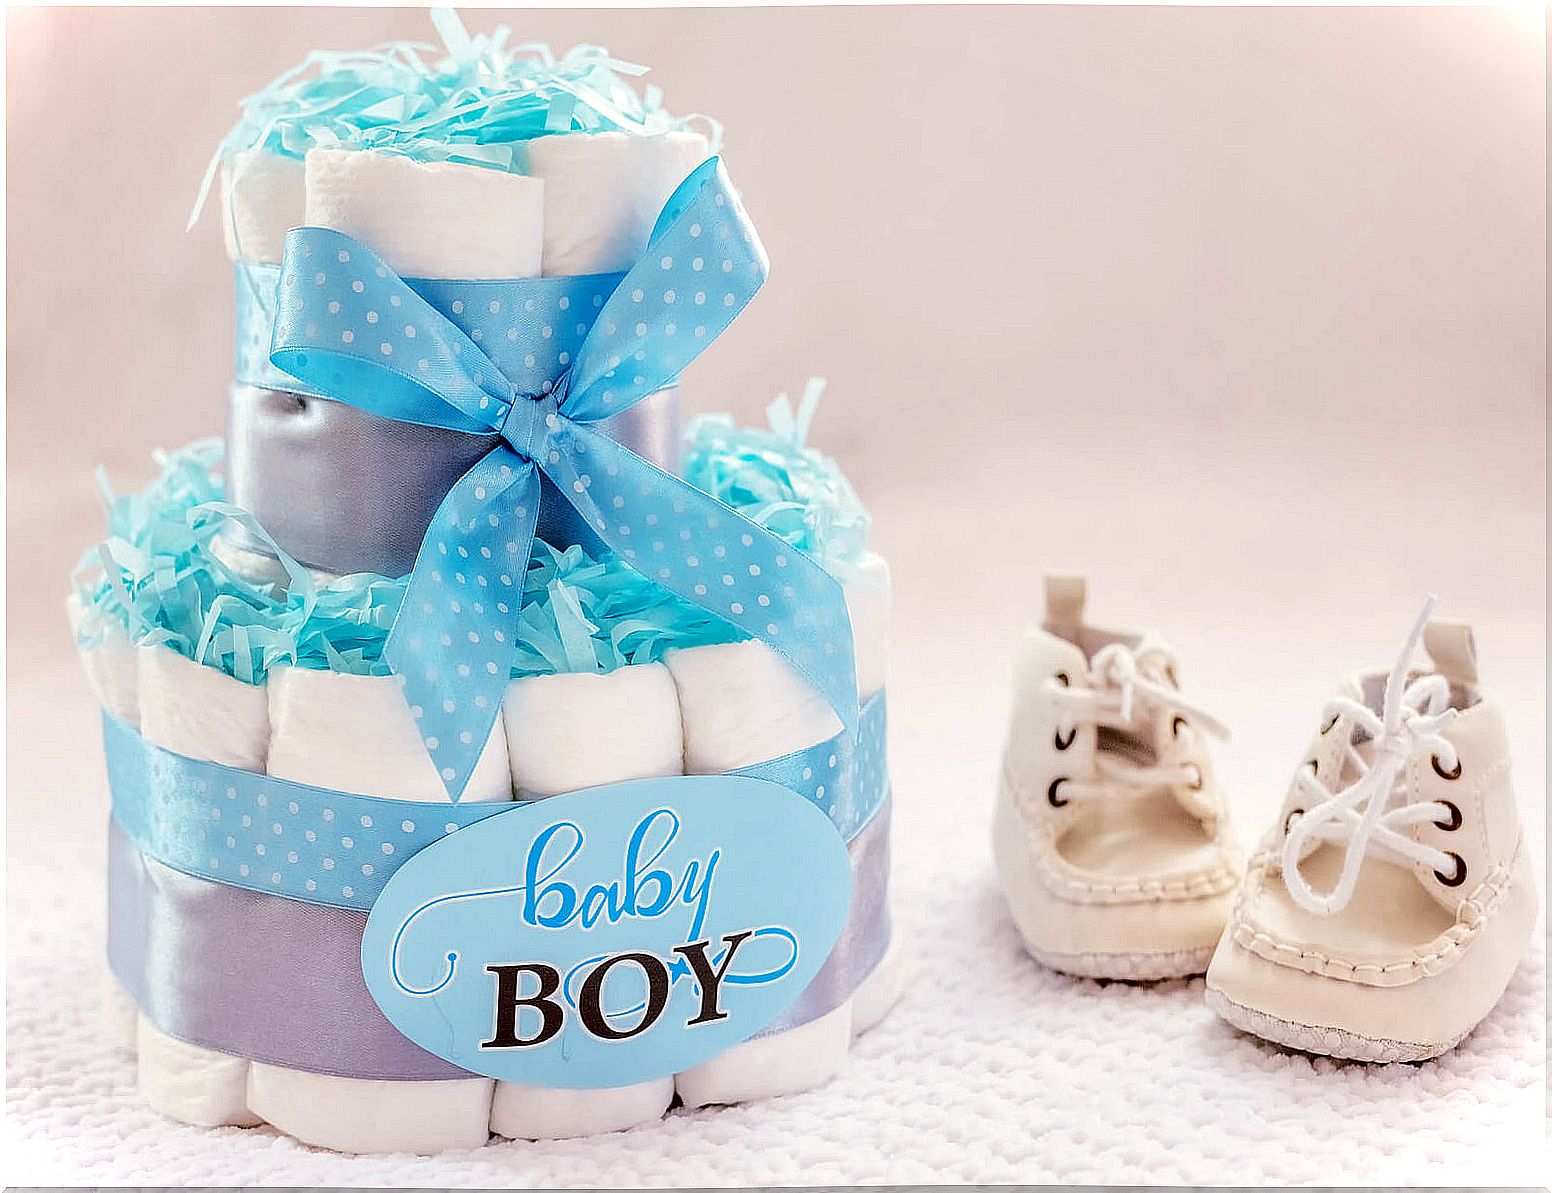
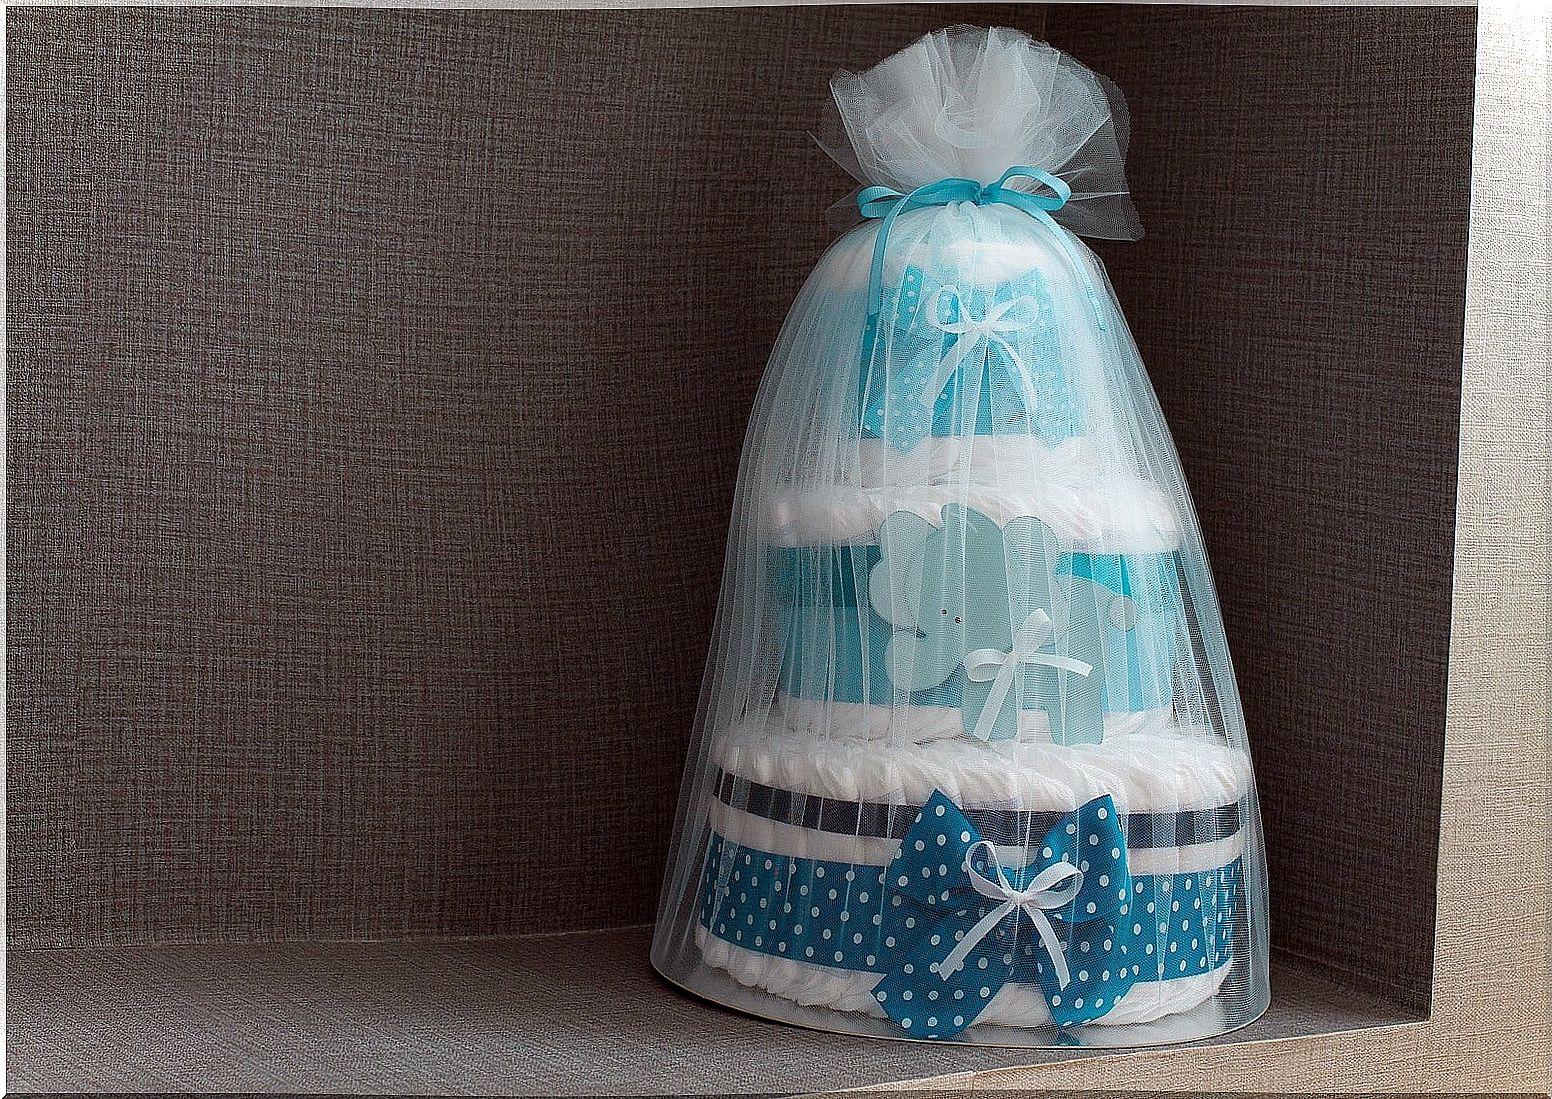
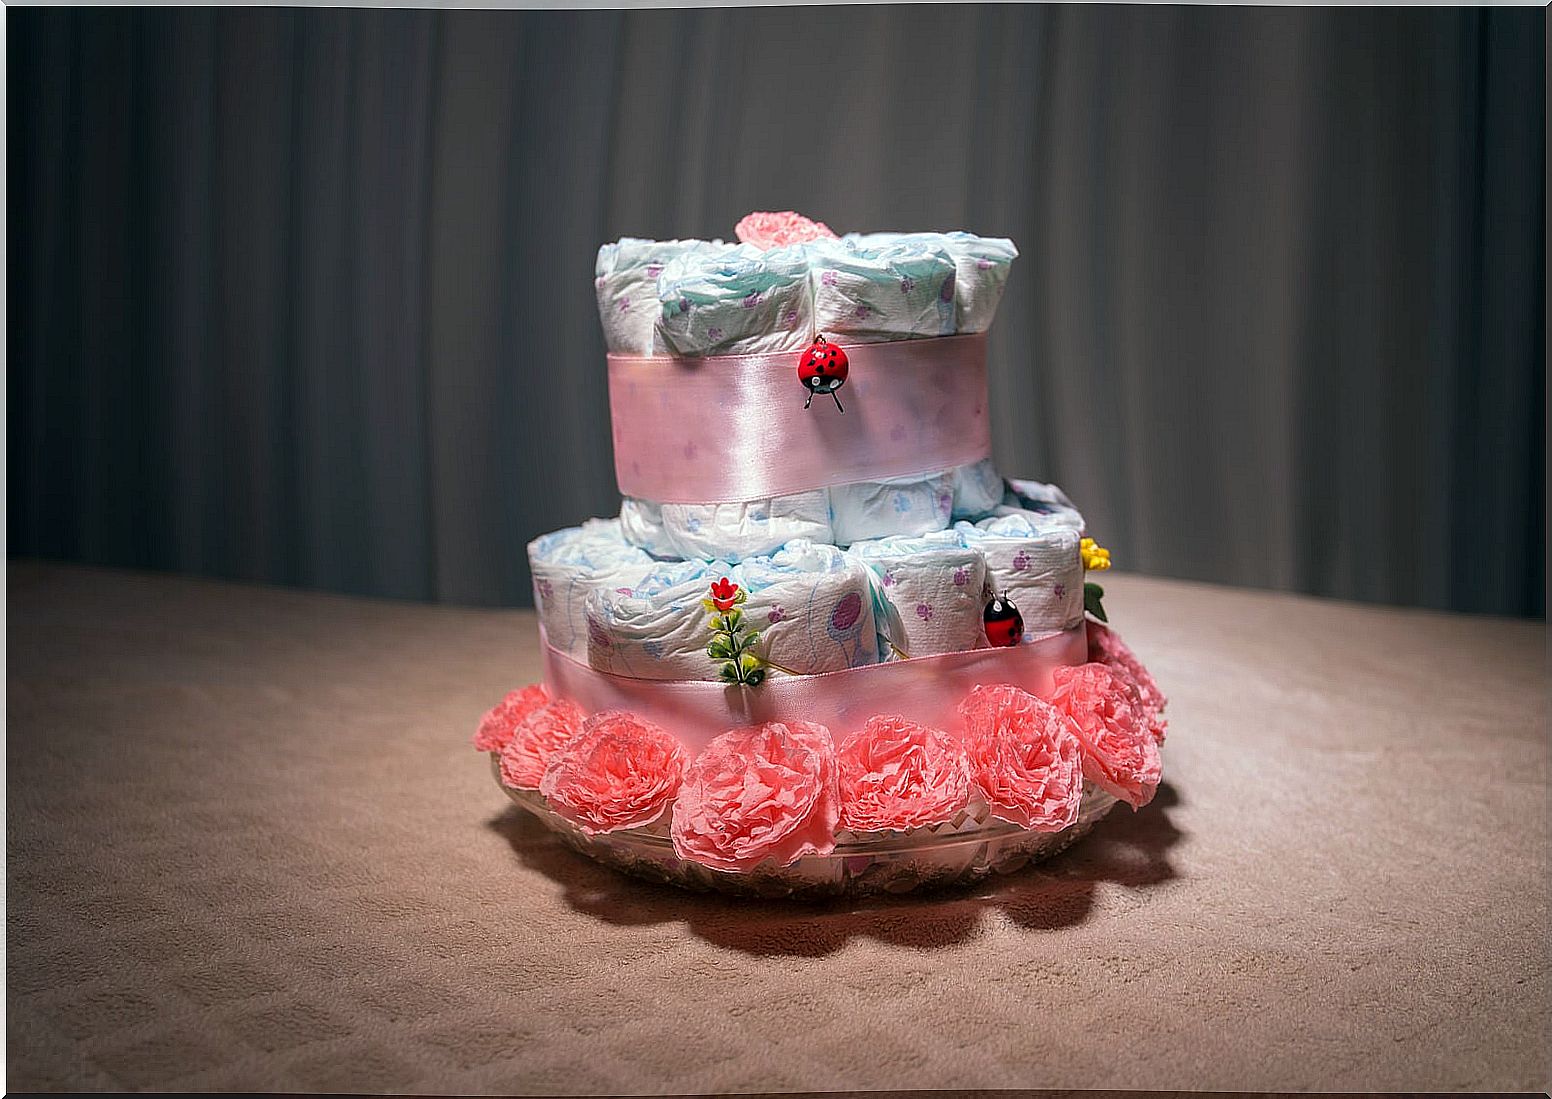
Decorating the diaper cake
Once you have placed all the layers of the cake, it’s time to decorate it. Take the wide ribbon and cut three pieces of different sizes. Place them around each floor so that they hide the rubber bands. You can join the two ends of each ribbon by making a bow. At this point you can be as creative as you want.
Did you find it easy to make a diaper cake to give to that special someone? Decorate it with children’s figures, pacifiers, blankets … Everything will be well received by the mother!
In short, it is a gift full of utility and made by yourself with which you will spend an entertaining time shaping this original fantasy in the form of diapers.